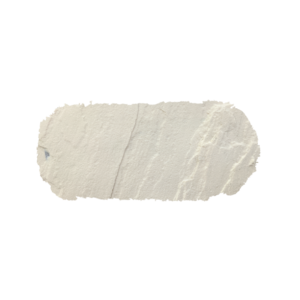
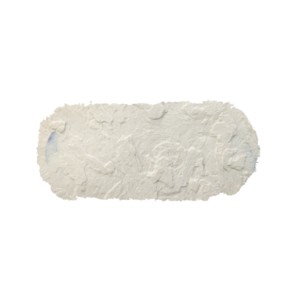
Subtotal: $35.99
Materials required:
– RockMolds Vertical Stamps
– Vertical Stamp Mix
– RockMolds Stone Sealer
– RockMolds Integral Color
– RockMolds Powdered Release
– Marking Paint – Water – Wheelbarrow – Shovel

STEP 1
The existing substrate is a set of concrete block retaining walls. Vertical stamping is a perfect application to veneer these walls with a natural stone look.
STEP 2
First Flexy-Bo Primer & Bonder is rolled onto the concrete wall. Allow to tack up for 30 minutes.
STEP 3
Apply a thin 1/8″ thick scratch coat of S-Type mortar with a RockMolds Pool Trowel, and scarify the surface.
STEP 4
After the scratch coat has been allowed to dry, saturate the surface thoroughly with a garden hose, and apply a ½”- 2″ thick texture coat of Vertical Stamp Mix with aRockMolds Pool Trowel. Undulate the depth so that it has varying thickness.
STEP 5
Immediately visualize the stones, and scratch in rough outlines. These will be your stamping guidelines.
Tip: The thicker the stones, the deeper the joints, and the deeper the shadows. This gives the stones depth and realism.
STEP 6
A liquid release is then applied to the troweled out texture coat, and to the RockMolds.com stamps. This allows an impression without sticking. Stamp a distinctive texture between the stamping guidelines.
Tip: It is important to immediately stamp after a batch of Vertical Stamp Mix has been applied, as the detailed texture will be captured with a softer surface.
STEP 7
Continue the application, batch by batch, and stamping out immediately behind. Use a variety of RockMolds.com stamps to avoid repetition of textures.
We use LS101F, LS102F, LS103F, LS104F, LS105F for the majority of our vertical stamping.
Tip: Rotate your stamps when stamping so the textures spin 360 degrees from stone to stone.
STEP 8
After the vertical stamp mix has sufficiently firmed up, usually within 4-6 hours, the joints can be accented by carving out. A Rockmolds tuck point trowel works great.
Tip: Keep the joints tight between the stones, to create a shadow and depth.
Tip: A chip brush dipped in water may be used at this time as well to clean up the stones.
STEP 10
Color the stones with RockMolds Stone Color Stain. Start with lighter colors, and layer in the darker colors until a certain look is obtained. You can always go darker!
Tip: Use multiple quart size spray bottles to apply different colors of stain, mixing the colors wet on wet so they blend together. Use a concrete sponge to blot the surface for any runs.
STEP 11
Seal the stones with RockMolds Stone Sealer. This will give the most natural appearance to the stones, without a sheen.
Tip: Seal every 2 years to refresh the color and protect your investment!


